How to Install GXDE?
Image Installation
Official download: https://repo.gxde.top/ISO/
Legacy versions: https://pan.baidu.com/s/1dsJSUhHiMg4tPHTq9IDpJw?pwd=GXDE Passwd: GXDE
Sourceforge: https://sourceforge.net/projects/gxde-os/files
ISO Mirror(CERNET Mirror):https://mirrors.cernet.edu.cn/GXDE/ISO/
Mirrors list: Available Here
123 Pan (Including old archive): https://www.123865.com/s/pDSKVv-gVPWv
Ctfile Cloud Disk (Including old archive): https://ctfile.gfdgdxi.top/#/d/31540479-66220399-11ab95?p=2061 Password: 2061

GXDE is not perfect, please confirm FAQ before installation, containing Nvidia Graphic Card driver installation help.
For Beginners: If you don't know how to partition, leave some space on a disk and select to install on the whole disk during installation.
EFI Installation: You must create a partition formatted as vfat/fat32 with the mount point set to /boot/efi. The remaining space can be partitioned as needed.
Because the LoongArch Debian upstream is not yet stable, GXDE loong64 is built upon deepin 25. Its codename is hetao, and the 'Rock Solid' feature is not enabled.
Install image lock screen password: live
Due to the lack of standardized specifications for RISC-V64 architecture devices, the RISC-V ISO installation images provided by GXDE are only supported to run under QEMU. Install QEMU by running the command:sudo apt install qemu-system qemu-efi-riscv64
Start QEMU with the following command:
qemu-system-riscv64 \
    -smp 16 -m 8G -cpu rv64 \  # -smp specifies number of virtual CPUs, -m allocates memory size
    -machine virt,acpi=off \
    -device virtio-scsi-pci,id=scsi \
    -drive if=pflash,format=raw,unit=0,file=/usr/share/qemu-efi-riscv64/RISCV_VIRT_CODE.fd,readonly=on \   # Specify RISC-V64 UEFI
    -device virtio-sound-pci,audiodev=deepinaudio -audiodev alsa,id=deepinaudio \
    -device qemu-xhci,id=xhci -device usb-tablet,bus=xhci.0 -device usb-kbd,bus=xhci.0 \
    -device virtio-vga-gl -display gtk,gl=on --cdrom /path/to/iso
APT Repository Installation
For those with ISO installation images available, such as amd64, arm64, mips64el and loong64, it is recommended to use the ISO for installation.
Currently supported architectures include i386, amd64, arm64, mips64, loong64, and riscv64 (riscv64 has not been tested).
amd64, arm64 are supported for installation and use under Debian 13/12. i386, mips64 are supported for installation and use under Debian 12. loong64 is supported for installation and use under deepin25. riscv64 is supported for use under deepin25/Debian13.
First, you need download the deb file:
| Target System Code | Supported Distribution | deb Package Download URL |
|---|---|---|
| lizhi | Debian 13 | https://repo.gxde.top/gxde-os/lizhi/g/gxde-source/ |
| bixie | Debian 12 | https://repo.gxde.top/gxde-os/bixie/g/gxde-source/ |
| hetao | deepin 25 | https://repo.gxde.top/gxde-os/hetao/g/gxde-source/ |
WARNING
Please download the corresponding package according to your system version, otherwise dependency errors may occur during installation
WARNING
Starting from GXDE 2025, we are directly built on Debian Backports. After installing the gxde-source package, the Debian Backports repository will be automatically added
After installation, run:
sudo apt update

sudo apt install aptss

sudo apt install gxde-testing-source -y  # Add the internal testing source. Debian Sid/Port users must use it, amd64, mips64, i386, arm64 and Loongnix 25 users can ignore it

sudo aptss update

sudo aptss install gxde-desktop gxde-desktop-extra -y

sudo aptss install spark-store -y  # Not available for mips64, i386 and riscv64 users
Then restart.
aptsscan accelerate download speed from GXDE source. But, if your performance is so poor that runningaptsscost centuries, just use apt.
There are potential conflict between GXDE and KDE. Don't install them both or maybe something will crash
Using GXDE on Other Linux Distributions
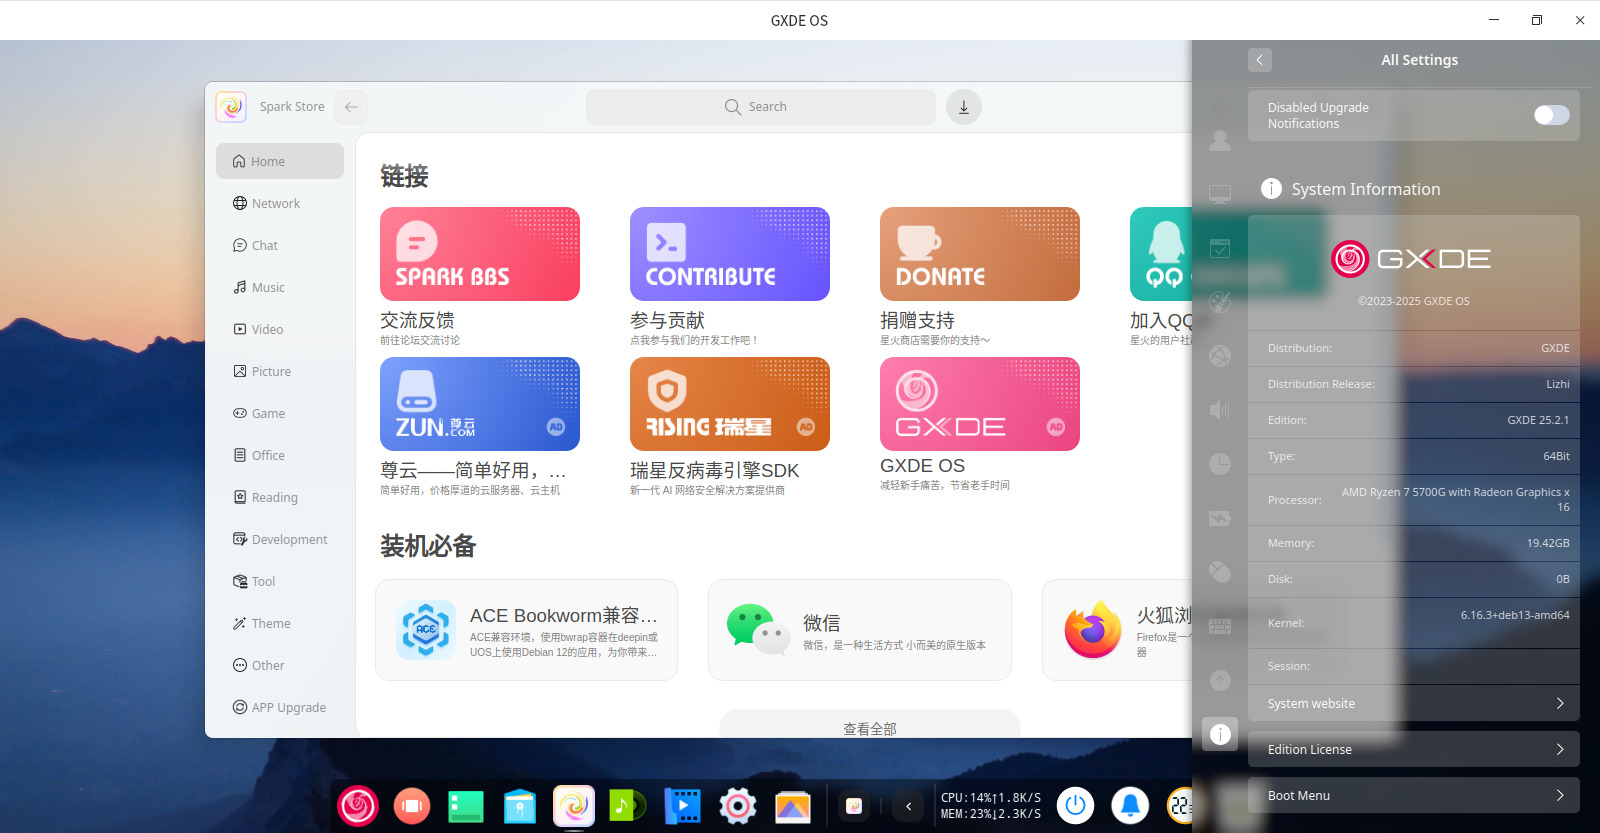
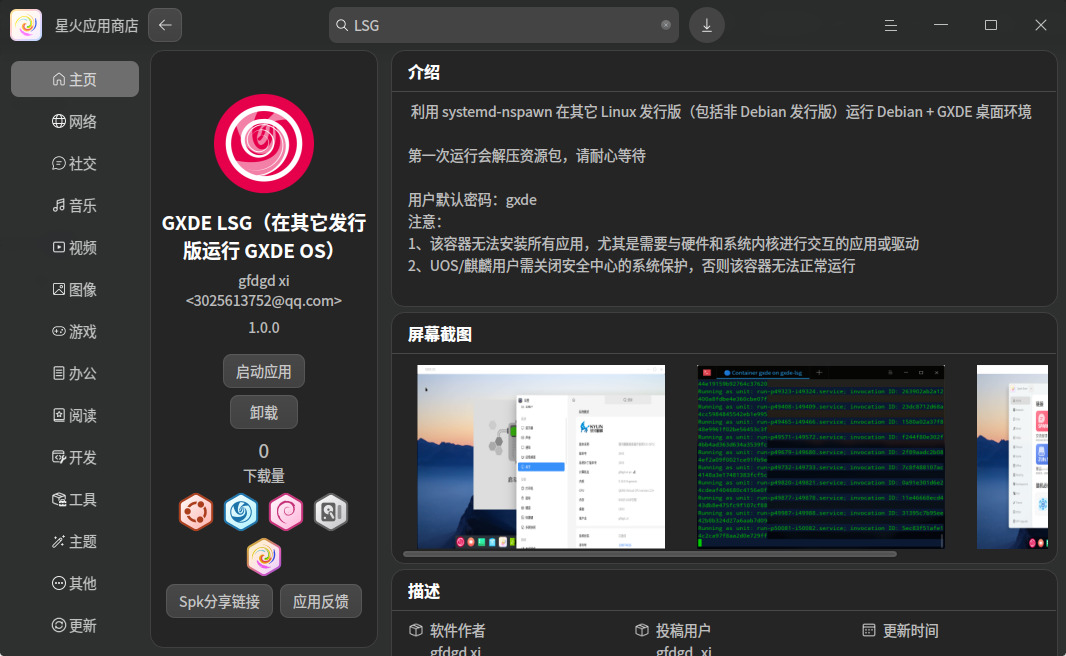
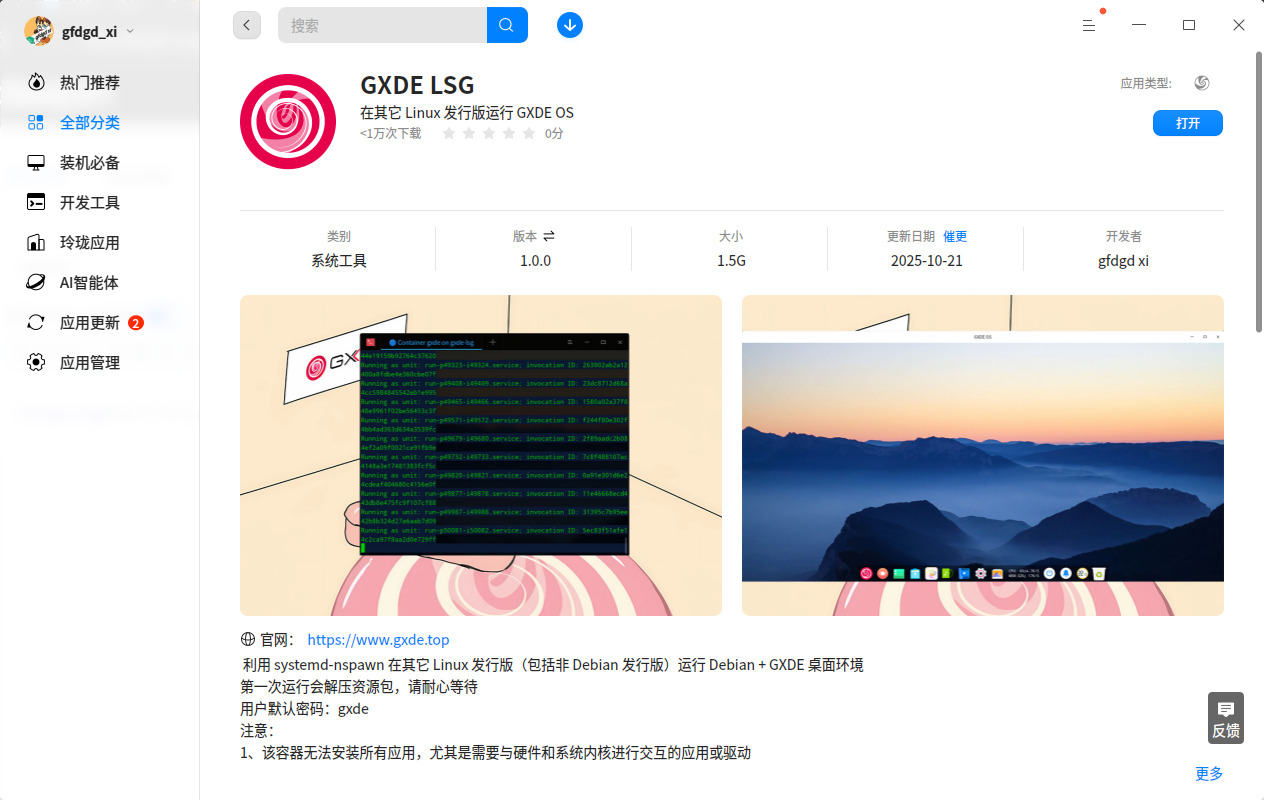
GXDE LSG (Linux subsystem for GXDE) is a tool that allows users to run Debian 13 + GXDE desktop environment on other Linux distributions without disrupting the host system. Built on systemd-nspawn, it supports running common applications like Spark App Store.
The initial run will extract resource packages—please wait patiently.
Default user password: gxde
Notes:
This container cannot install all applications, particularly those requiring interaction with hardware or the system kernel.
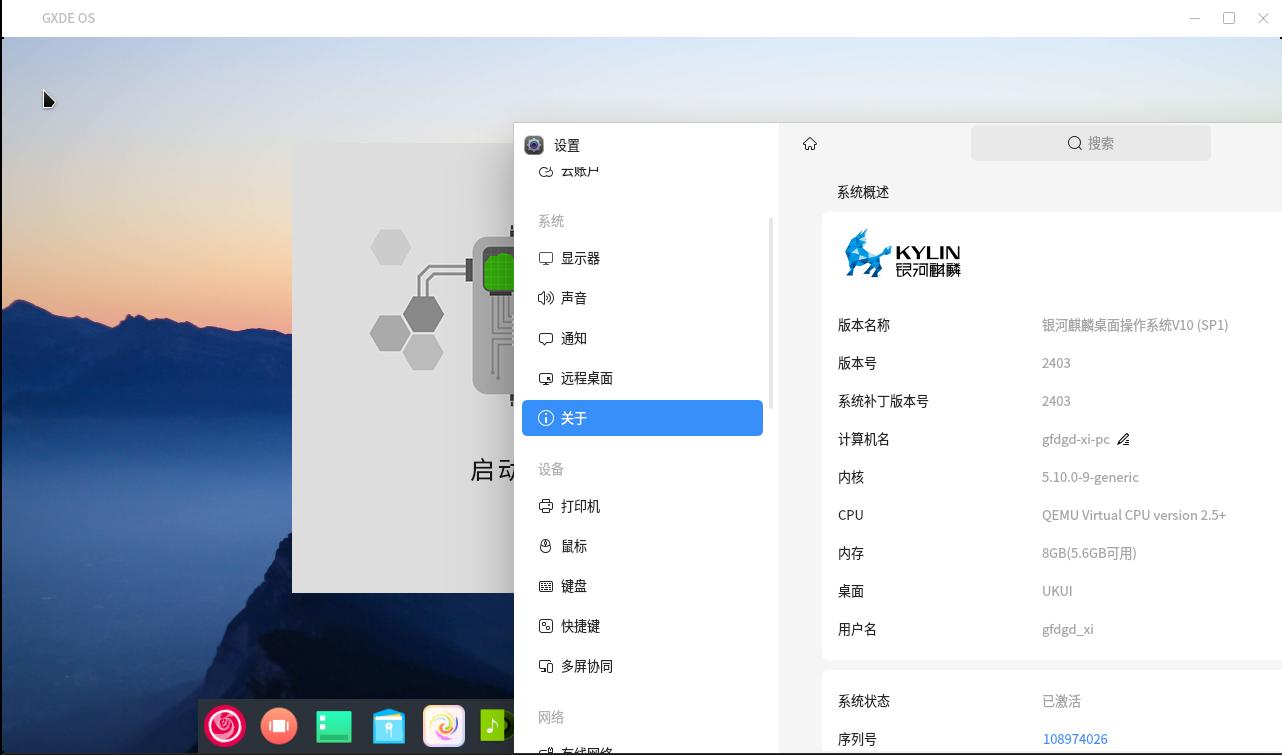
UOS/Kylin users must disable System Protection in Security Center; otherwise, the container will not function properly.
System kernel version must be 5.4 or higher.
Download Links
Primary Mirror: https://repo.gxde.top/TGZ/LSG/
Mirror Site: https://mirrors.cernet.edu.cn/GXDE/TGZ/LSG/
Now available in deepin App Store and Spark Store for one-click download and installation.
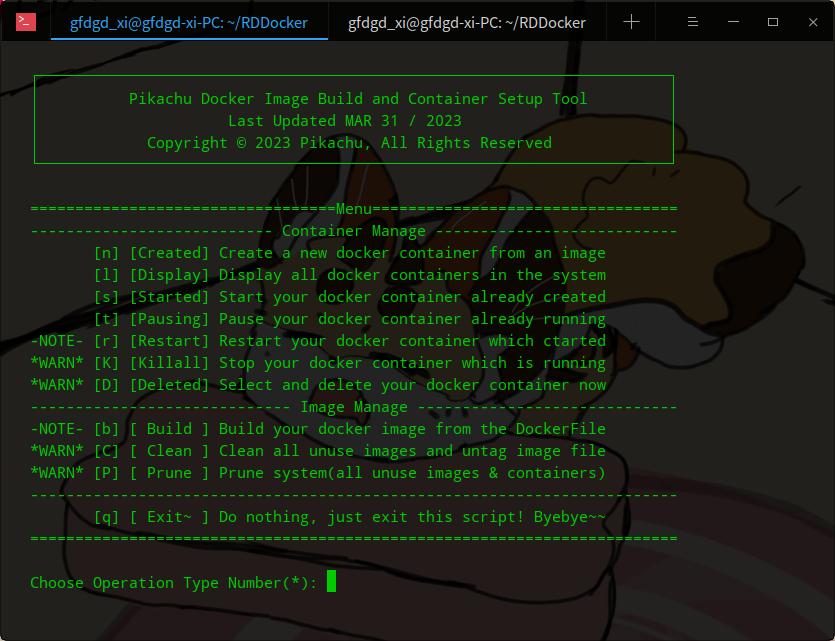
Install GXDE on Docker
RDPDocker is a Docker image building and container creation tool with X11 and desktop environments, supporting the creation of Ubuntu, Debian, Arch Linux, Fedora systems, Lingmo, GNOME, Xfce4, X11, SSH and other environments. Meanwhile, users are allowed to remotely access the container through methods such as NoMachine, RDP, VNC, SSH, etc. This tool enables multiple users to share a host without virtualization and at extremely low cost. It is also very fast to create, can be used and opened at any time, and only occupies minimal memory and disk space. Docker only needs to be installed on the host. Supports running on headless Linux servers desktop, WSL2, LXC, and Android phones.
You can learn more from https://github.com/PIKACHUIM/RDDocker
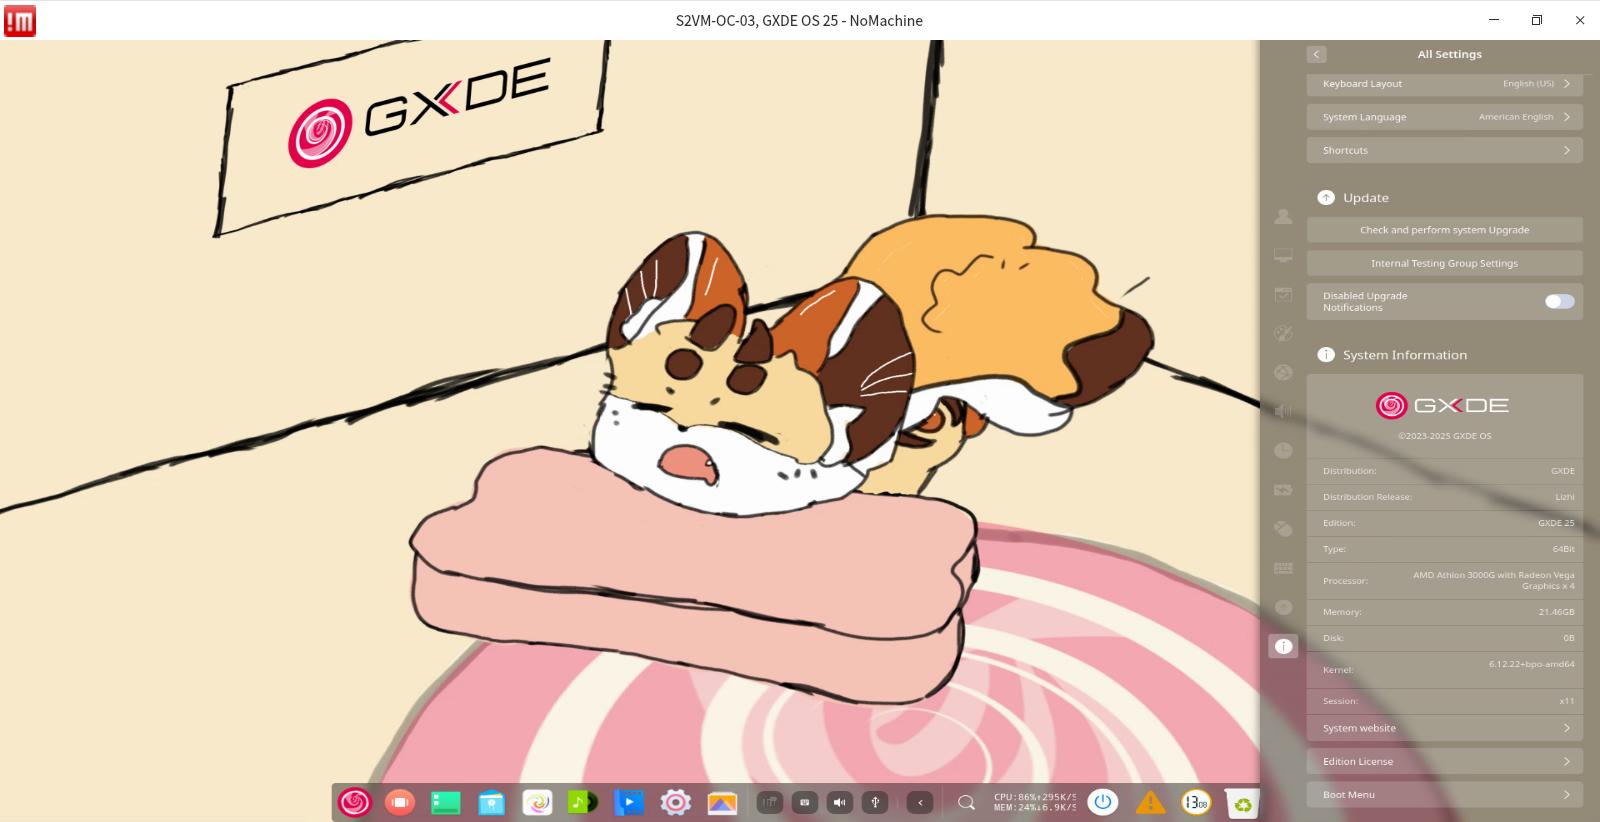
Using GXDE on Windows
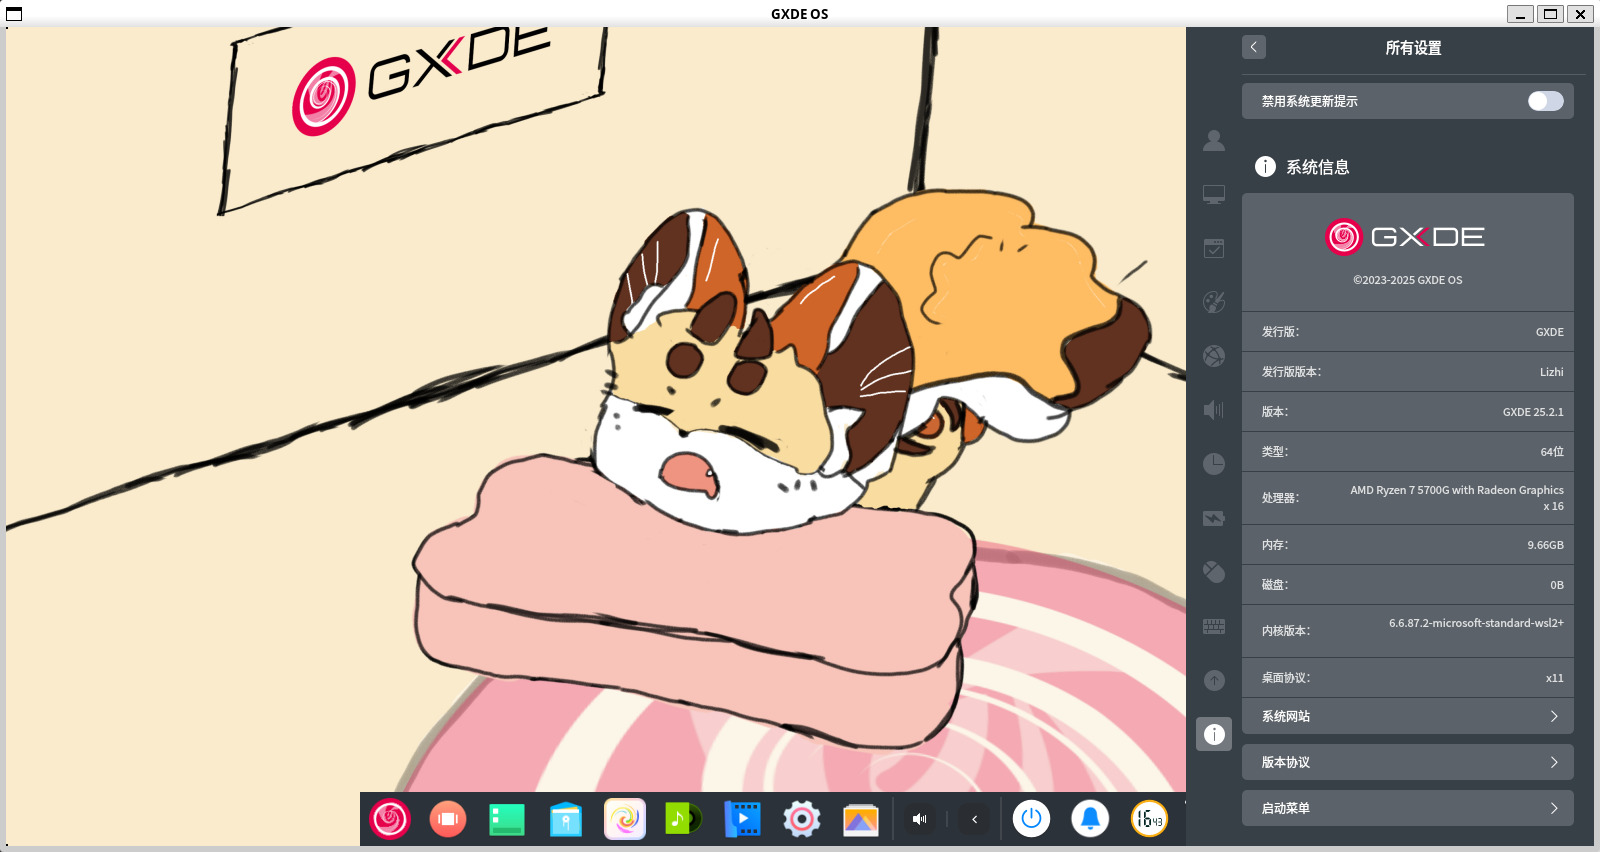
Running with WSL2
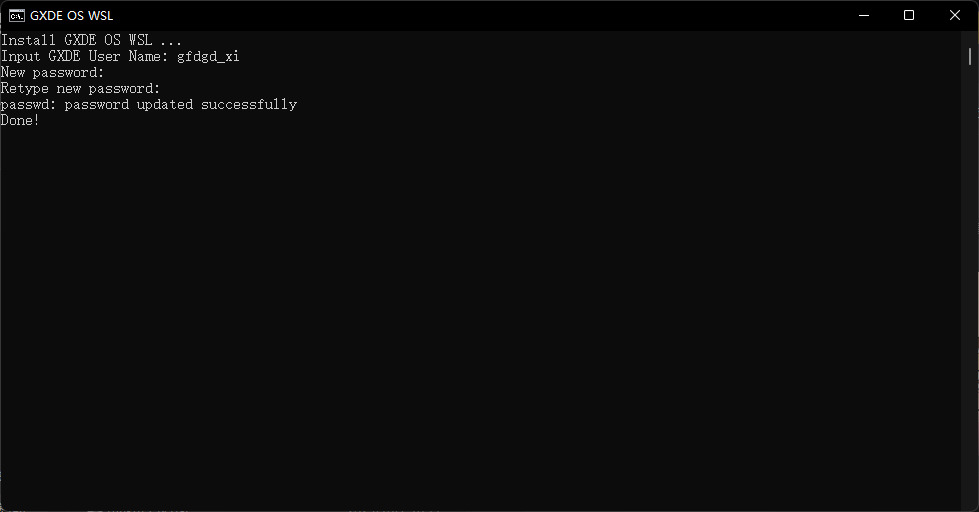
GXDE OS provides installation packages for WSL2, allowing you to quickly install and run GXDE OS on WSL2.
First-time use requires running install.bat to install GXDE OS WSL2 onto Windows (during installation, you will need to set a username and password, which will be required for subsequent runs).
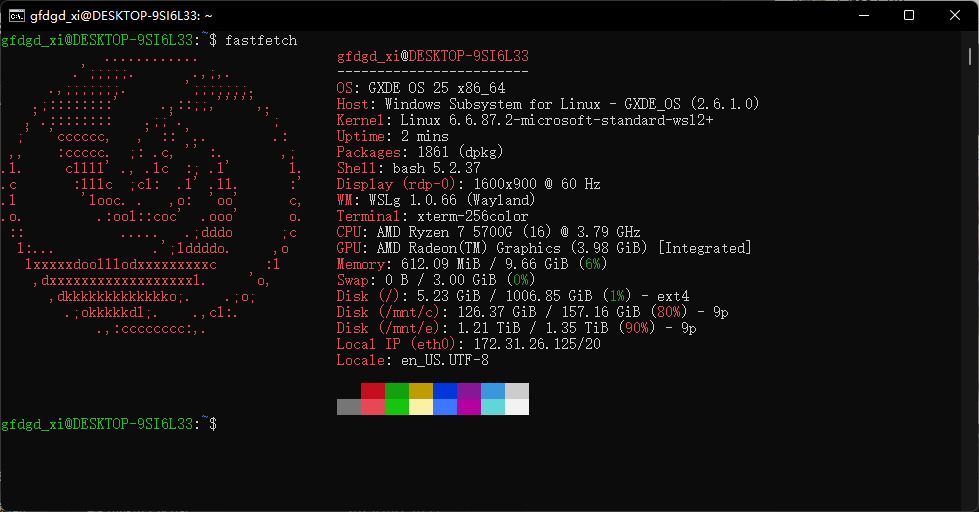
For subsequent runs, use run.bat to enter the GXDE command line interface.
Run run-gui.bat to launch the GXDE desktop (you will need to enter the username and password set during installation to start).
(Note: Versions with the en_US.UTF8 suffix represent the English interface, while those with the zh_CN.UTF8 suffix represent the Chinese interface.)
Run uninstall.bat to uninstall GXDE OS WSL. After running, delete the folder to complete the uninstallation.
INFO
Note: Currently, GXDE OS WSL only supports WSL2 and does not support WSL1. If WSL2 is not enabled (the system defaults to WSL1), run the following commands and restart your computer to enable WSL2:
wsl --update
wsl --set-default-version 2
Download links
Source: https://repo.gxde.top/TGZ/WSL/
Mirror (recommended): https://mirrors.cernet.edu.cn/GXDE/TGZ/WSL/
Install GXDE on Android Phone/Pads
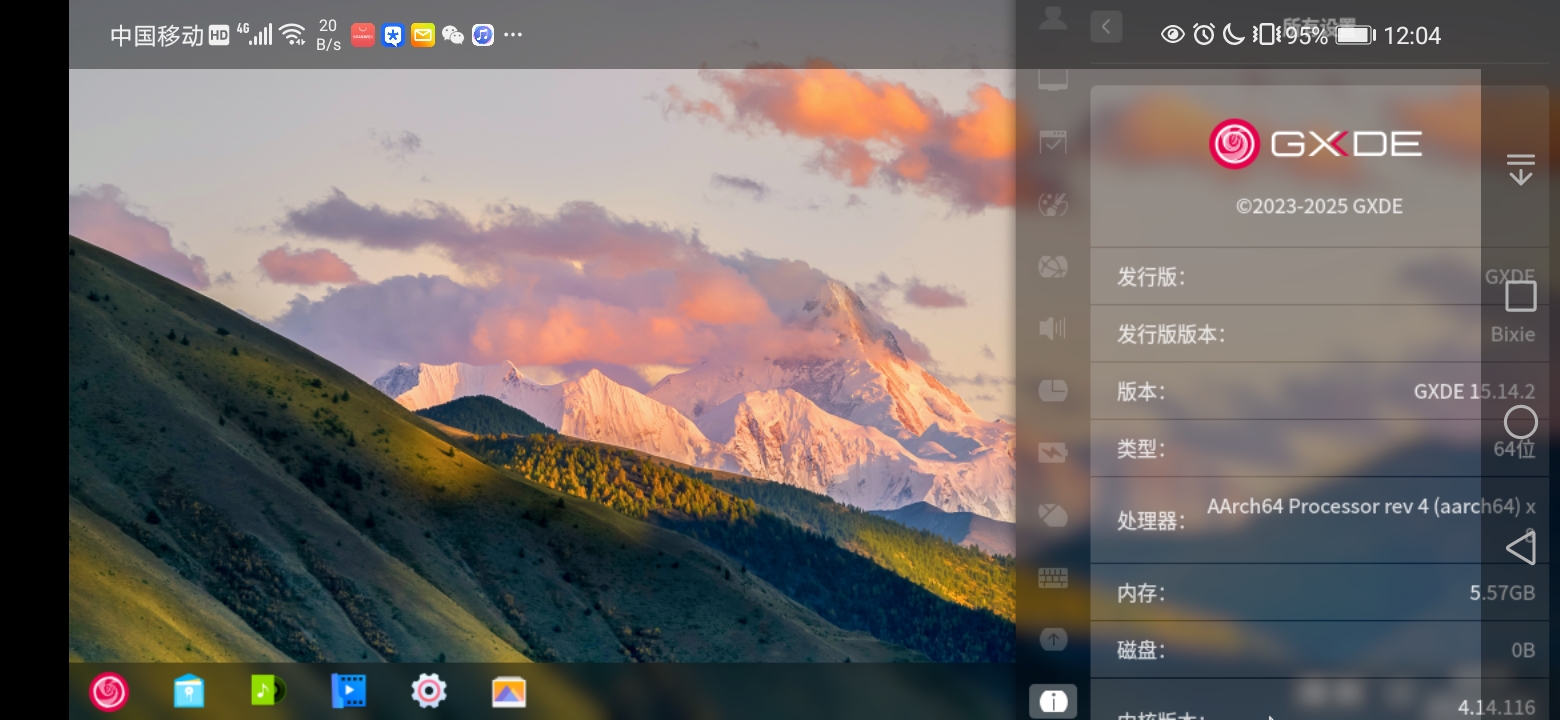
Install GXDE With Tiny-Computer
Run Debian with XFCE/LXQt/GXDE/... on Android with just one click - optimized for Chinese users.
The Tiny Computer 1.0.19 now supports GXDE. This version was developed in collaboration with the Tiny Computer team and is still in beta testing phase.
To report bugs, please visit: https://github.com/Cateners/tiny_computer/issues/129
WARNING
Since version 1.0.99, the application has been built using a release signing key instead of the previous debug key. Therefore, upgrading directly from older versions to the current version is NOT possible.
If you need to export files from the application, please refer to this guide.
WARNING
If upgrading from v1.0.10 or later versions, you must perform a startup command reset (in Advanced Settings) and reinstall the boot package (in Global Settings) after launch. Otherwise, new features may not work properly.
By default, the boot package, quick commands, and container system will not be updated even when the software is upgraded.
The software only supports arm64 devices. Default credentials: user tiny/password tiny.
Connection ports:
- VNC port 5904 (password: 12345678)
- noVNC port 36082
- PulseAudio port 4718
- Termux X11 uses port 7897
This software does not conflict with Termux.
INFO
1.0.100 or higher version includes a variant with targetSdk 35, which avoids Google Play warnings such as "This app was built for an older version of Android" or "Unsafe app blocked" during installation — at the cost of losing Wine compatibility. As a result, I have disabled the "Windows App Support" option.
Note: If the interface operation is laggy, you can disable the special effects mode in the Control Center => Personalization. If the Control Center cannot be opened, you can upgrade to the latest version using the Toolbox in the GXDE-provided System Assistant.
Tiny Computer Project Address: https://github.com/Cateners/tiny_computer
Download Links
- Mirror Site Download (Recommended): https://mirrors.cernet.edu.cn/GXDE/APK/
- Github Download: https://github.com/Cateners/tiny_computer/releases (Select the APK with the "gxde" suffix)
Install GXDE with Neo Desktop
A powerful launcher that supports connection to either AR glasses or physical displays, enabling the device to achieve independent multi-display output.
You can learn more from https://nightmare.press/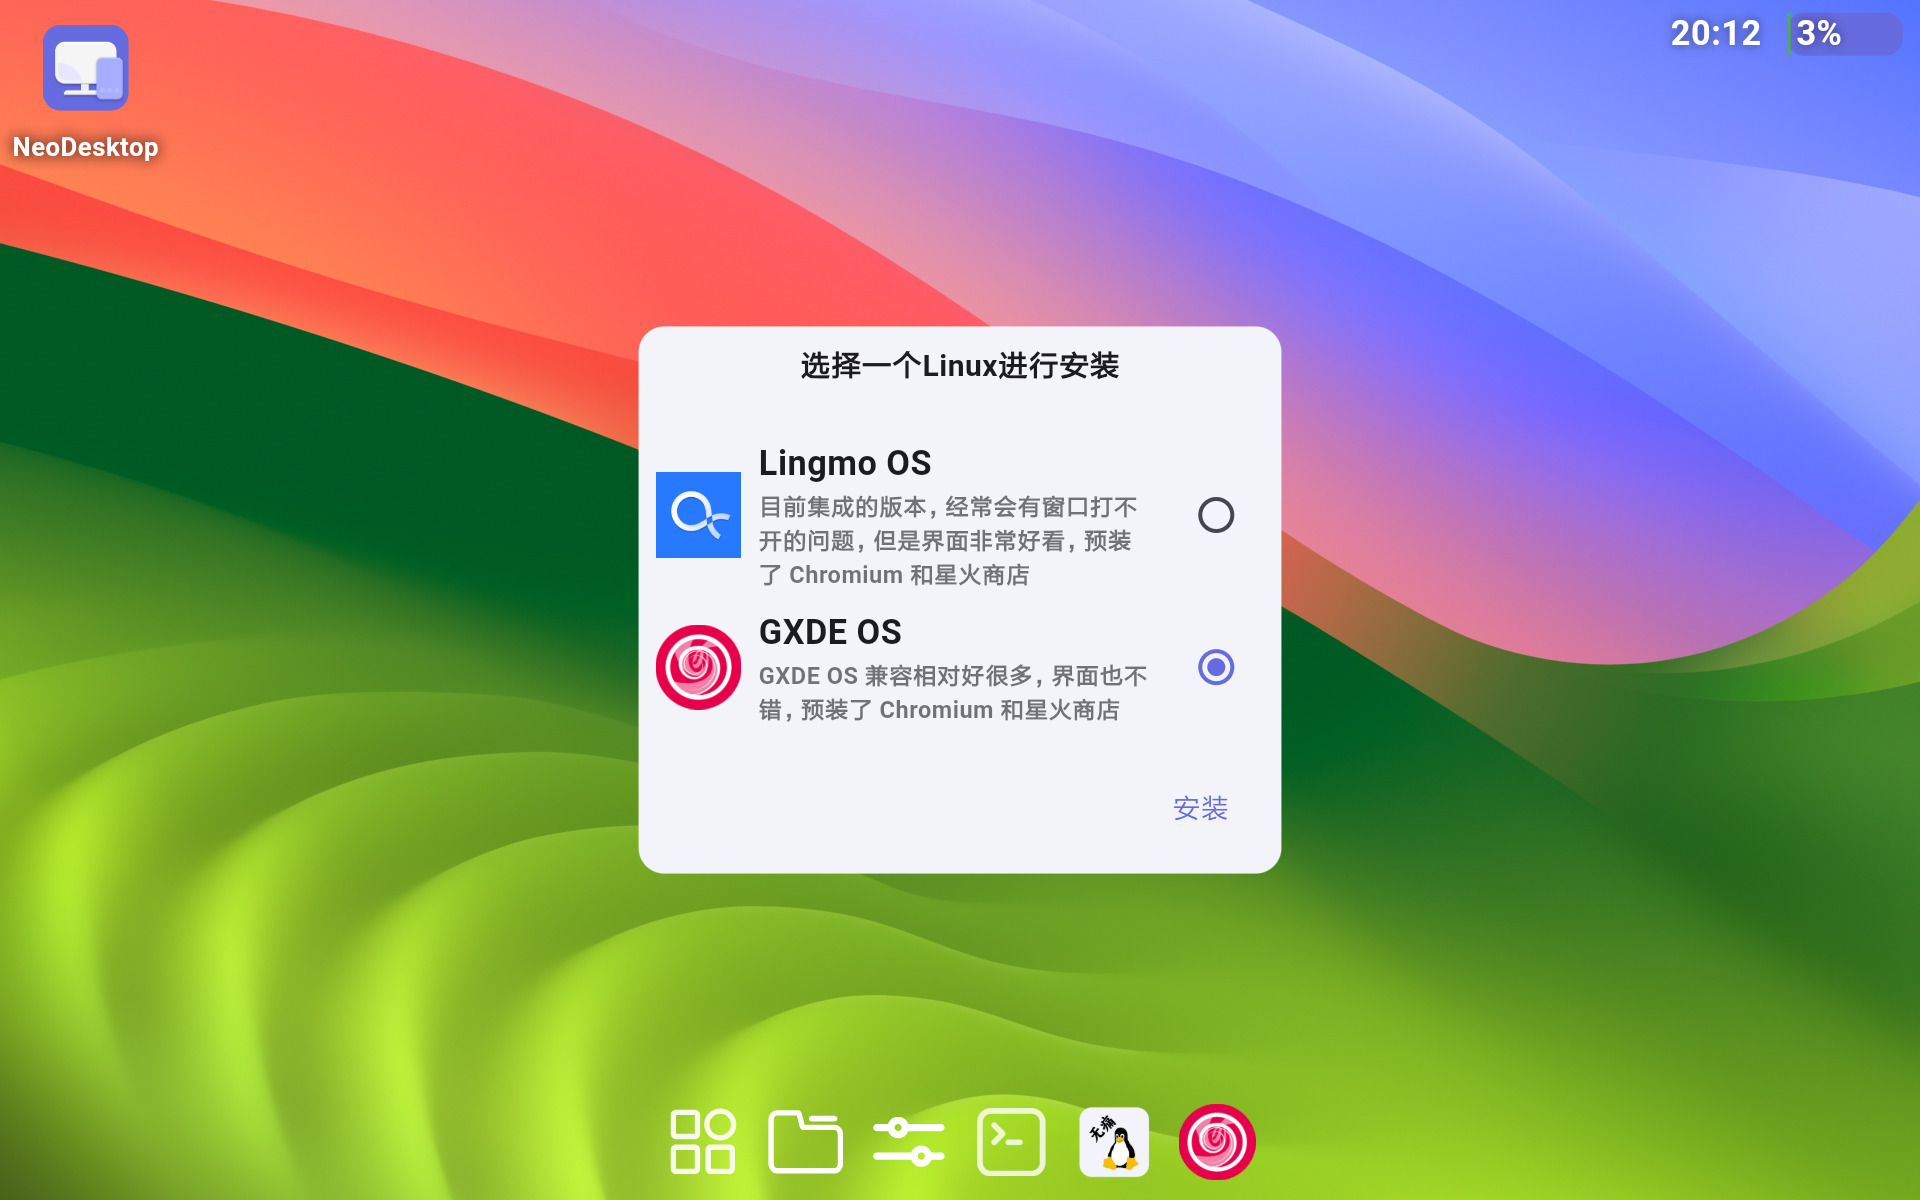
Install on Termux PRoot or other Android devices
Check: https://bbs.deepin.org.cn/post/279414
Install GXDE on Android Phone/Pads (With Vectras VM)
Please check: https://github.com/xoureldeen/Vectras-VM-Android